In recent years, the consumption of magic mushrooms has soared in popularity, largely thanks to many scientific studies revealing the vast health benefits associated with psilocybin consumption.
Potential benefits include antidepressant effects, increased focus, energy, less dependency on medication and enhanced cognition.
By far the safest and most cost-efficient way to get your hands on magic mushrooms is to grow your own.
Growing mushrooms is fun, rewarding and relatively straight forward to do. With the help of this guide, we’ll talk you through the steps needed to grow your very own magic mushrooms at home.
Legality of possessing magic mushrooms in the UK
Any fungus that contains psilocin or psilocybin is controlled in the UK. Therefore, magic mushrooms are prohibited to be cultivated, possessed or sold under the Misuse of Drugs Act 1971.
Magic mushrooms are classed as Class A drugs in the UK, meaning the most severe punishment for possession is up to seven years and an unlimited fine. However, a sentence this harsh is extremely unlikely.
In fact, if you were caught with a small amount for personal use – say up to 5 grams – you’d probably get away with a caution.
It’s a different story if you get caught growing them, though. Technically, a life sentence is the maximum sentence for supply of any Class A drug, including magic mushrooms. In practice, however, longer sentences are only used for major traffickers, and rarely, if ever, for cases involving only mushrooms.

What you need to grow magic mushrooms at home
Firstly, in order to grow psilocybin mushrooms at home, you’ll need the following equipment.
If you’r buying a grow kit online, many of the items below may be included. Alternatively, most of the items on the list can be purchased from Amazon.
Inoculation jars can either be purchased online or you can use cheap mason jars from Wilkos.
For Phase 1 of the process you will need…
- 10 Sterilised inoculation jars or mason jars with a substrate (or one jar per each cc in your syringe)
-
Latex gloves
-
Paper towels
-
Face Mask
-
Rubbing Alcohol
-
Mushroom spore syringe
-
Hypodermic needles
-
A lighter
-
Disinfectant spray (e.g., Dettol)
For Phase 2 of the process, you will need…
- A spray bottle
-
Fruiting chamber – this can be a clear plastic tub with a lid
-
An area that receives indirect sunlight
-
Temperature and humidity gauge
-
Something to drill holes into your grow box to allow for air
-
Vermiculite
-
Hydrogen peroxide (3%)
The Process
We’ve divided the process into 2 phases.
Phase 1 is when you’ll create what’s known as a birthday cake. This is when mycelium has fully colonised your jar around the substrate and is ready for phase 2.
Phase 2 is the process of removing the birthday cake from the jar and moving them to a container where they’ll sprout mushrooms.
This may all sound complicated at first, however, after several read-throughs it will become clear.
Phase 1
-
Sterilise
Sterilisation is arguably the most important stage of growing mushrooms. Firstly, you need to select a closed off space in your house (e.g. your bathroom).
Then, gather all items needed for phase 1 and put on your face mask. Enter the room and close the door. Spray the room with your disinfectant spray.
Finally, put on your gloves and wipe your jars with the rubbing alcohol using paper towels, making sure to take extra care with the top of the jar.
-
Inoculate
Using a lighter, heat the metal portion of your hypodermic needle until it glows red – this will sterilise it. Then, shake your syringe to distribute the spores evenly.
Insert the needle into the port and inject one cc into the jar. Repeat the process with each jar, ensuring you sterilize your hypodermic needle each time.
-
Leave for at least 15 days
Place your jars in a cardboard box, close the lid, and then place in a dark, warm place. It needs a temperature of roughly 80-85 degrees Fahrenheit.
During the first week, try not to check on your mushrooms as they need the dark to grow. After a week you should see a white fuzzy substance in the jars. This is mycelium, the vegetative part of the fungus much like the roots of a plant.
Let the mycelium grow until the jars are 100% colonised by white fluffy mycelium. After you’ve reached this point wait another week and proceed to Phase 2.

Phase 2
In this phase we remove the birthday cakes from their jars so that they can start sprouting mushrooms.
-
Birth and soak the birthday cakes
By now your jars should be fully colonised by mycelium and ready to be placed in a fruiting chamber (a clear plastic tub). However, as they have been in an airtight container, they’ll be in need of some water. Soak them for 12-24 hours using the following method.
-
Get your sterilised plastic container with lid and some filtered water ready.
-
Put on some gloves.
-
Remove the lids of your jars.
-
Bang a jar against your hand, this should release the cake. Try to touch the cake as little as possible.
-
Place the cake in the plastic container and follow the above process for the rest of your cakes.
-
Fill your container with filtered water and seal the lid.
-
Place the cakes in the fridge and leave for 12-24 hours.
Now your cakes are hydrated the next step is to prepare your chamber.
-
Prepare the chamber
Firstly, you’ll need to sterilise the plastic container with bleach and boiled water and be sure to rinse thoroughly.
Fill your spray bottle with 10 parts boiled water to one part hydrogen peroxide.
Sterilize your vermiculite by soaking another solution of 10 to 1 boiling water and hydrogen peroxide. Then, spread a layer on the bottom of your growing chamber. The goal of the vermiculite is to maintain humidity with the assistance of daily sprays.
Next, place your mason jar lids into the bed of vermiculite, then place a cake on each lid. Spray each cake with your h2O/h2O2 mixture but not too much – make sure a puddle doesn’t form. Leave enough room between each cake, so there’s plenty of room for mushrooms to sprout without crowding.
You may see small mushroom sprouts on your cakes known as pins, this is a good thing as it’s the first stage of sprouting. If you smell any foul odours coming from your mushrooms, it’s possible that your mycelium may have harmful bacteria.
-
Step Three
Seal the lid on your growing chamber and leave it in a well-ventilated room with indirect sunlight.
With everything now set up you can leave your mushrooms to sprout.
Maintenance
Over the next 4 weeks, you’ll need to mist your mushrooms twice a day – every morning and every evening. However, this is dependent on humidity. If you’re storing your mushrooms in a room with lower humidity, you’ll need to spray more often.
Harvesting & Storage
Now your mushrooms have sprouted, simply snap them off at the base, place them in an airtight container and store in the fridge. They should stay fresh for 3-15 days.
Keep them in the fridge as you would regular mushrooms. To preserve them for longer, you’ll need to dry them out and place them in an airtight container. A food dehydrator works perfectly for this. Make sure to store them in a cool, dry area.
Grow kits

If all this sounds like too much work for you, why not try a magic mushroom grow kit, which is much simpler than growing from scratch.
Although inoculated psilocybin mushroom grow kits are illegal in the UK, it is legal to purchase grow kits and psilocybin mushroom spores for research purposes.
These can be combined with an (uninoculated) mushroom grow kit to grow psilocybin mushrooms. There are many websites selling both spores and grow kits in the UK, however we recommend these companies.
Final notes
There are many ways to grow mushrooms, but we’ve found the method above works best. After you’ve grown your first batch you can experiment and tweak your methodology as required.
Always be safe with dosages, if in doubt always start with a lower dose.
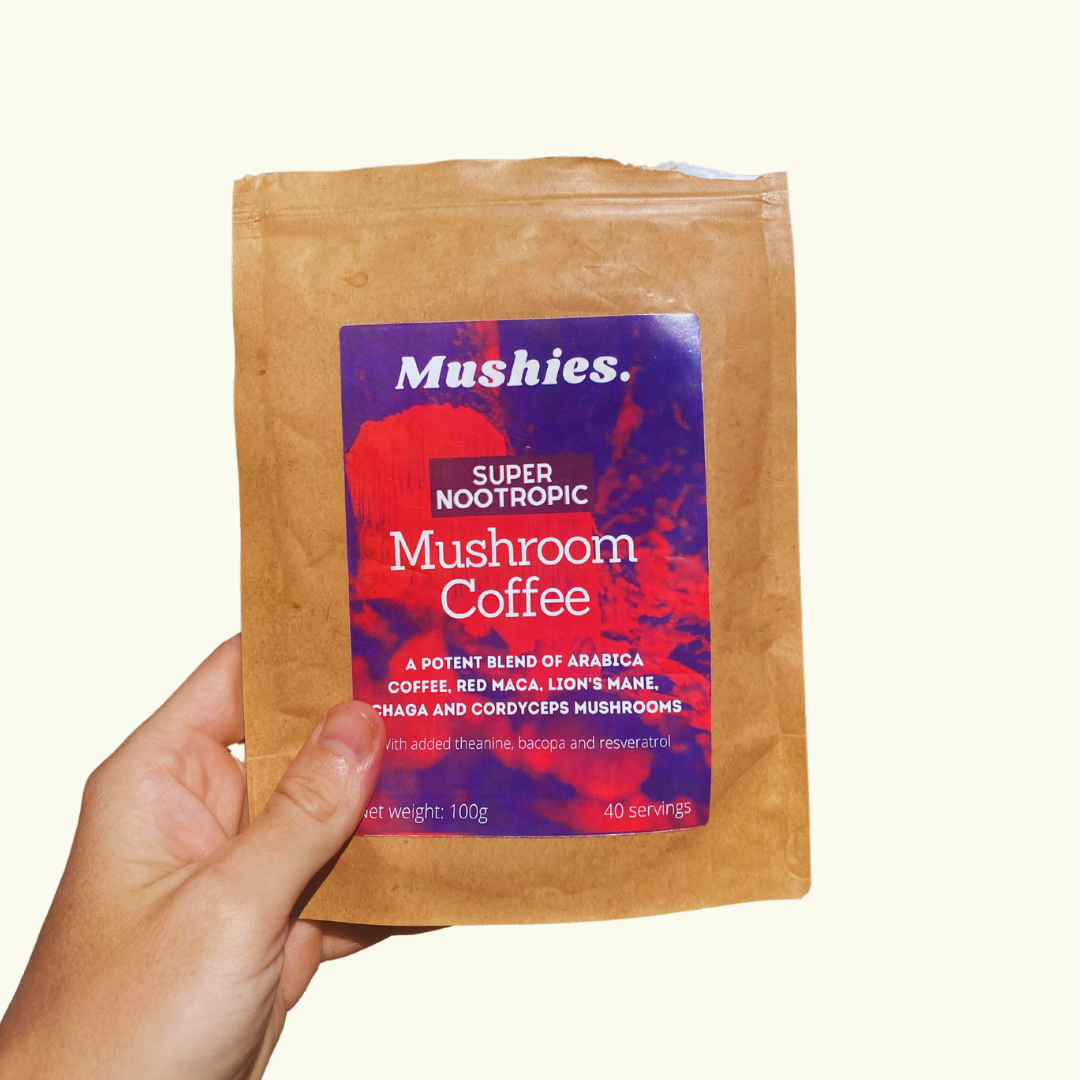
Mushroom coffee
If you’re looking to benefit from legal mushrooms, check out this Super Nootropic Mushroom Coffee from Mushies.

Made with Lion’s Mane (good for brain and gut), cordyceps (energy), and chaga mushrooms (immunity), it provides a natural boost to brain and body. Read more here.